
Here are the directions!
I made my cover 52 inches long by 23 inches wide. This allows for a half an inch seam allowance .
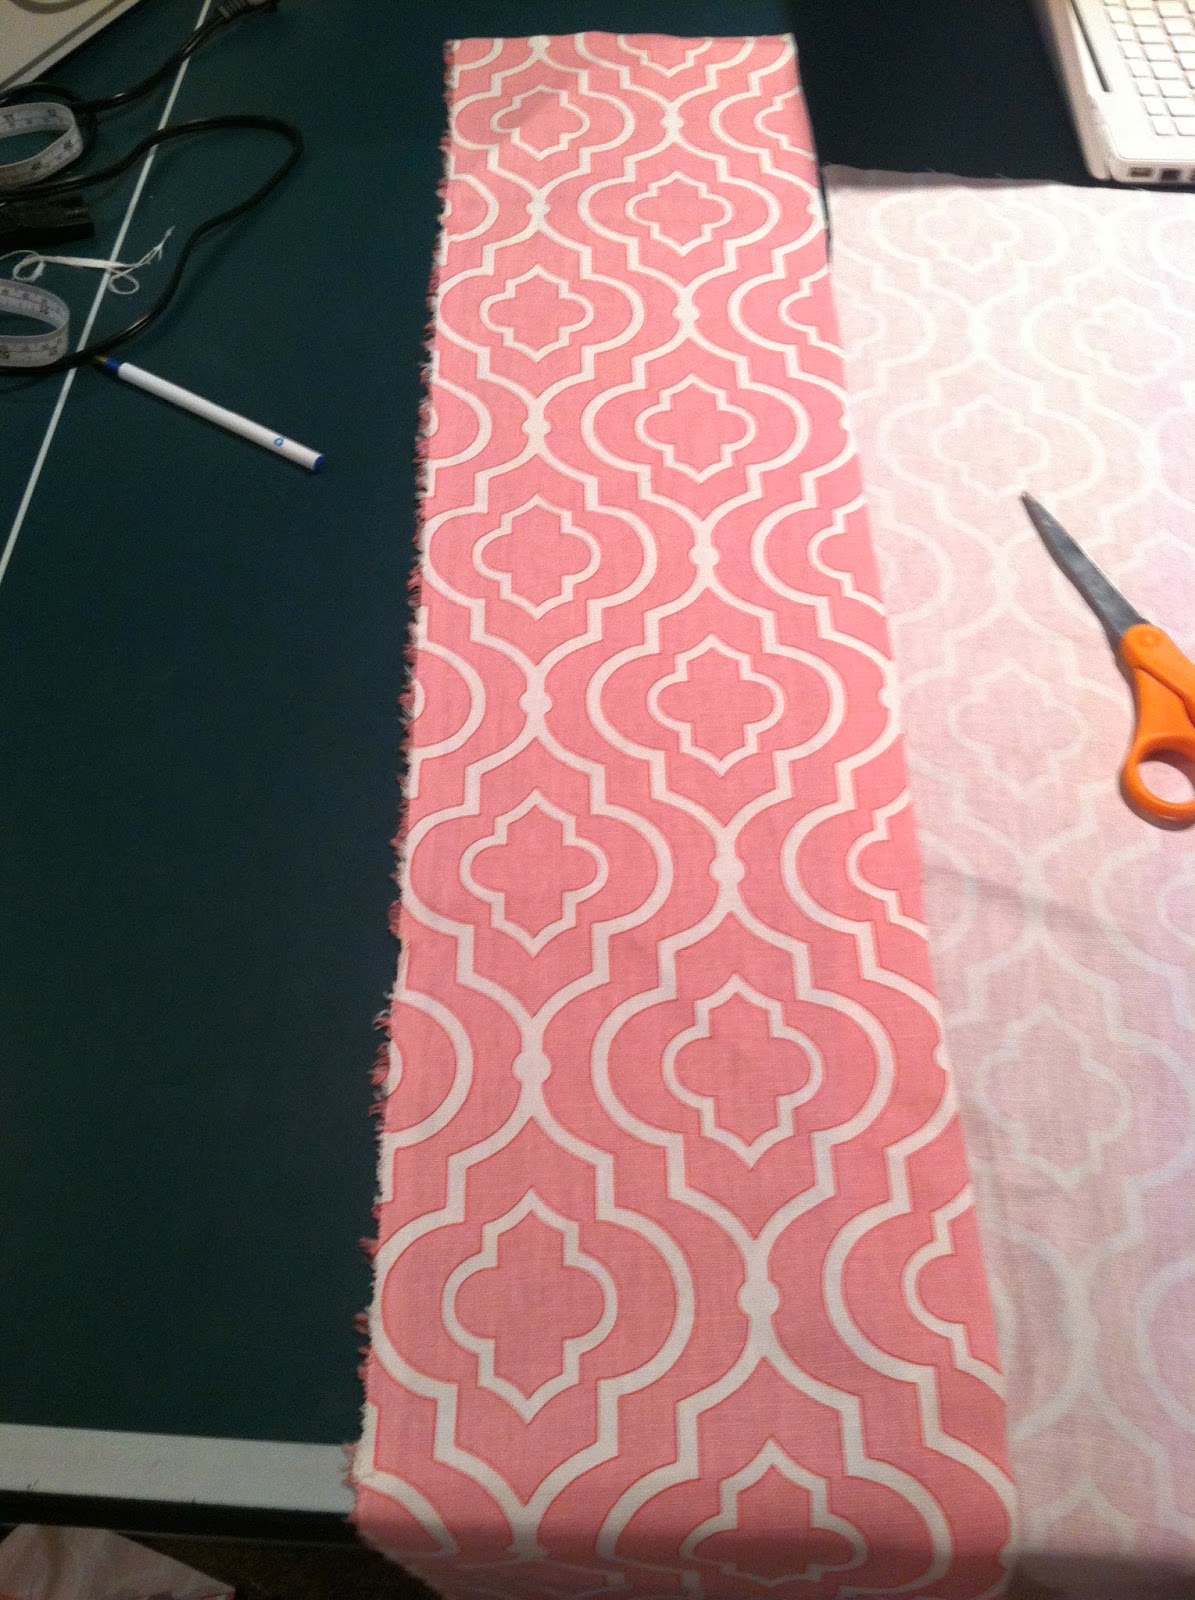
First measure out and cut your fabric.

Then fold the top of the fabric over, making an overlap.


Here's what the pocket will look like once you are finished sewing. Now its time to make the skirt.
To make the skirt, you have to cut two strips of fabric. Mine strips were 55 inches long by 8 inches wide. The width is how long the skirt will hang once it is attached to the main part of the cover.
 |
| Make two of these |
Now pin and sew the two strips together (right sides together) to make one long strip.


Once you are done, you will have one large strip. Now it's time to attach the skirt to the rest of the cover. Take the cover and lay it so the right side of the fabric is shown (look below). Find the center of the single layered bottom piece (the seat cover, not the pocket) and pin the the center of the skirt (where you sewed the two strips together), right sides together. Then pin the rest of the skirt to the sides and back of the main cover.
*IMPORTANT* When you are pinning the skirt to the back side of the pocket, stop a few inches from the center of the pocket. LOOK BELOW!
Now sew together the pieces that you pinned. Remember to stop a few inches before the center of the back.
It will look like this from the front when you are done sewing.
Now lets do the back. I like pinning the two ends of the skirt together. Then I pin the extra skirt fabric together a few inches from the base of the strip.
I sew along these pins in a diagonal line. I cut the excess after, so the "tail" is shortened. This makes a pleat in the back of the skirt.
Now attatch the rest of the skirt by pinning the strip to the base of the cover. Make sure that you pin the two strips together onto the base of the cover so that you have your pleat.
Sew along the pinned area and then you are done! Oncde you are used to the pinning and the directions, it takes 15 minutes to make! It is really simple once you get used to it. I made my roommate and I these in just one day.
I hope you like this project!
xoxo,
Jayne
No comments:
Post a Comment